Solar Panel Installation
Materials:
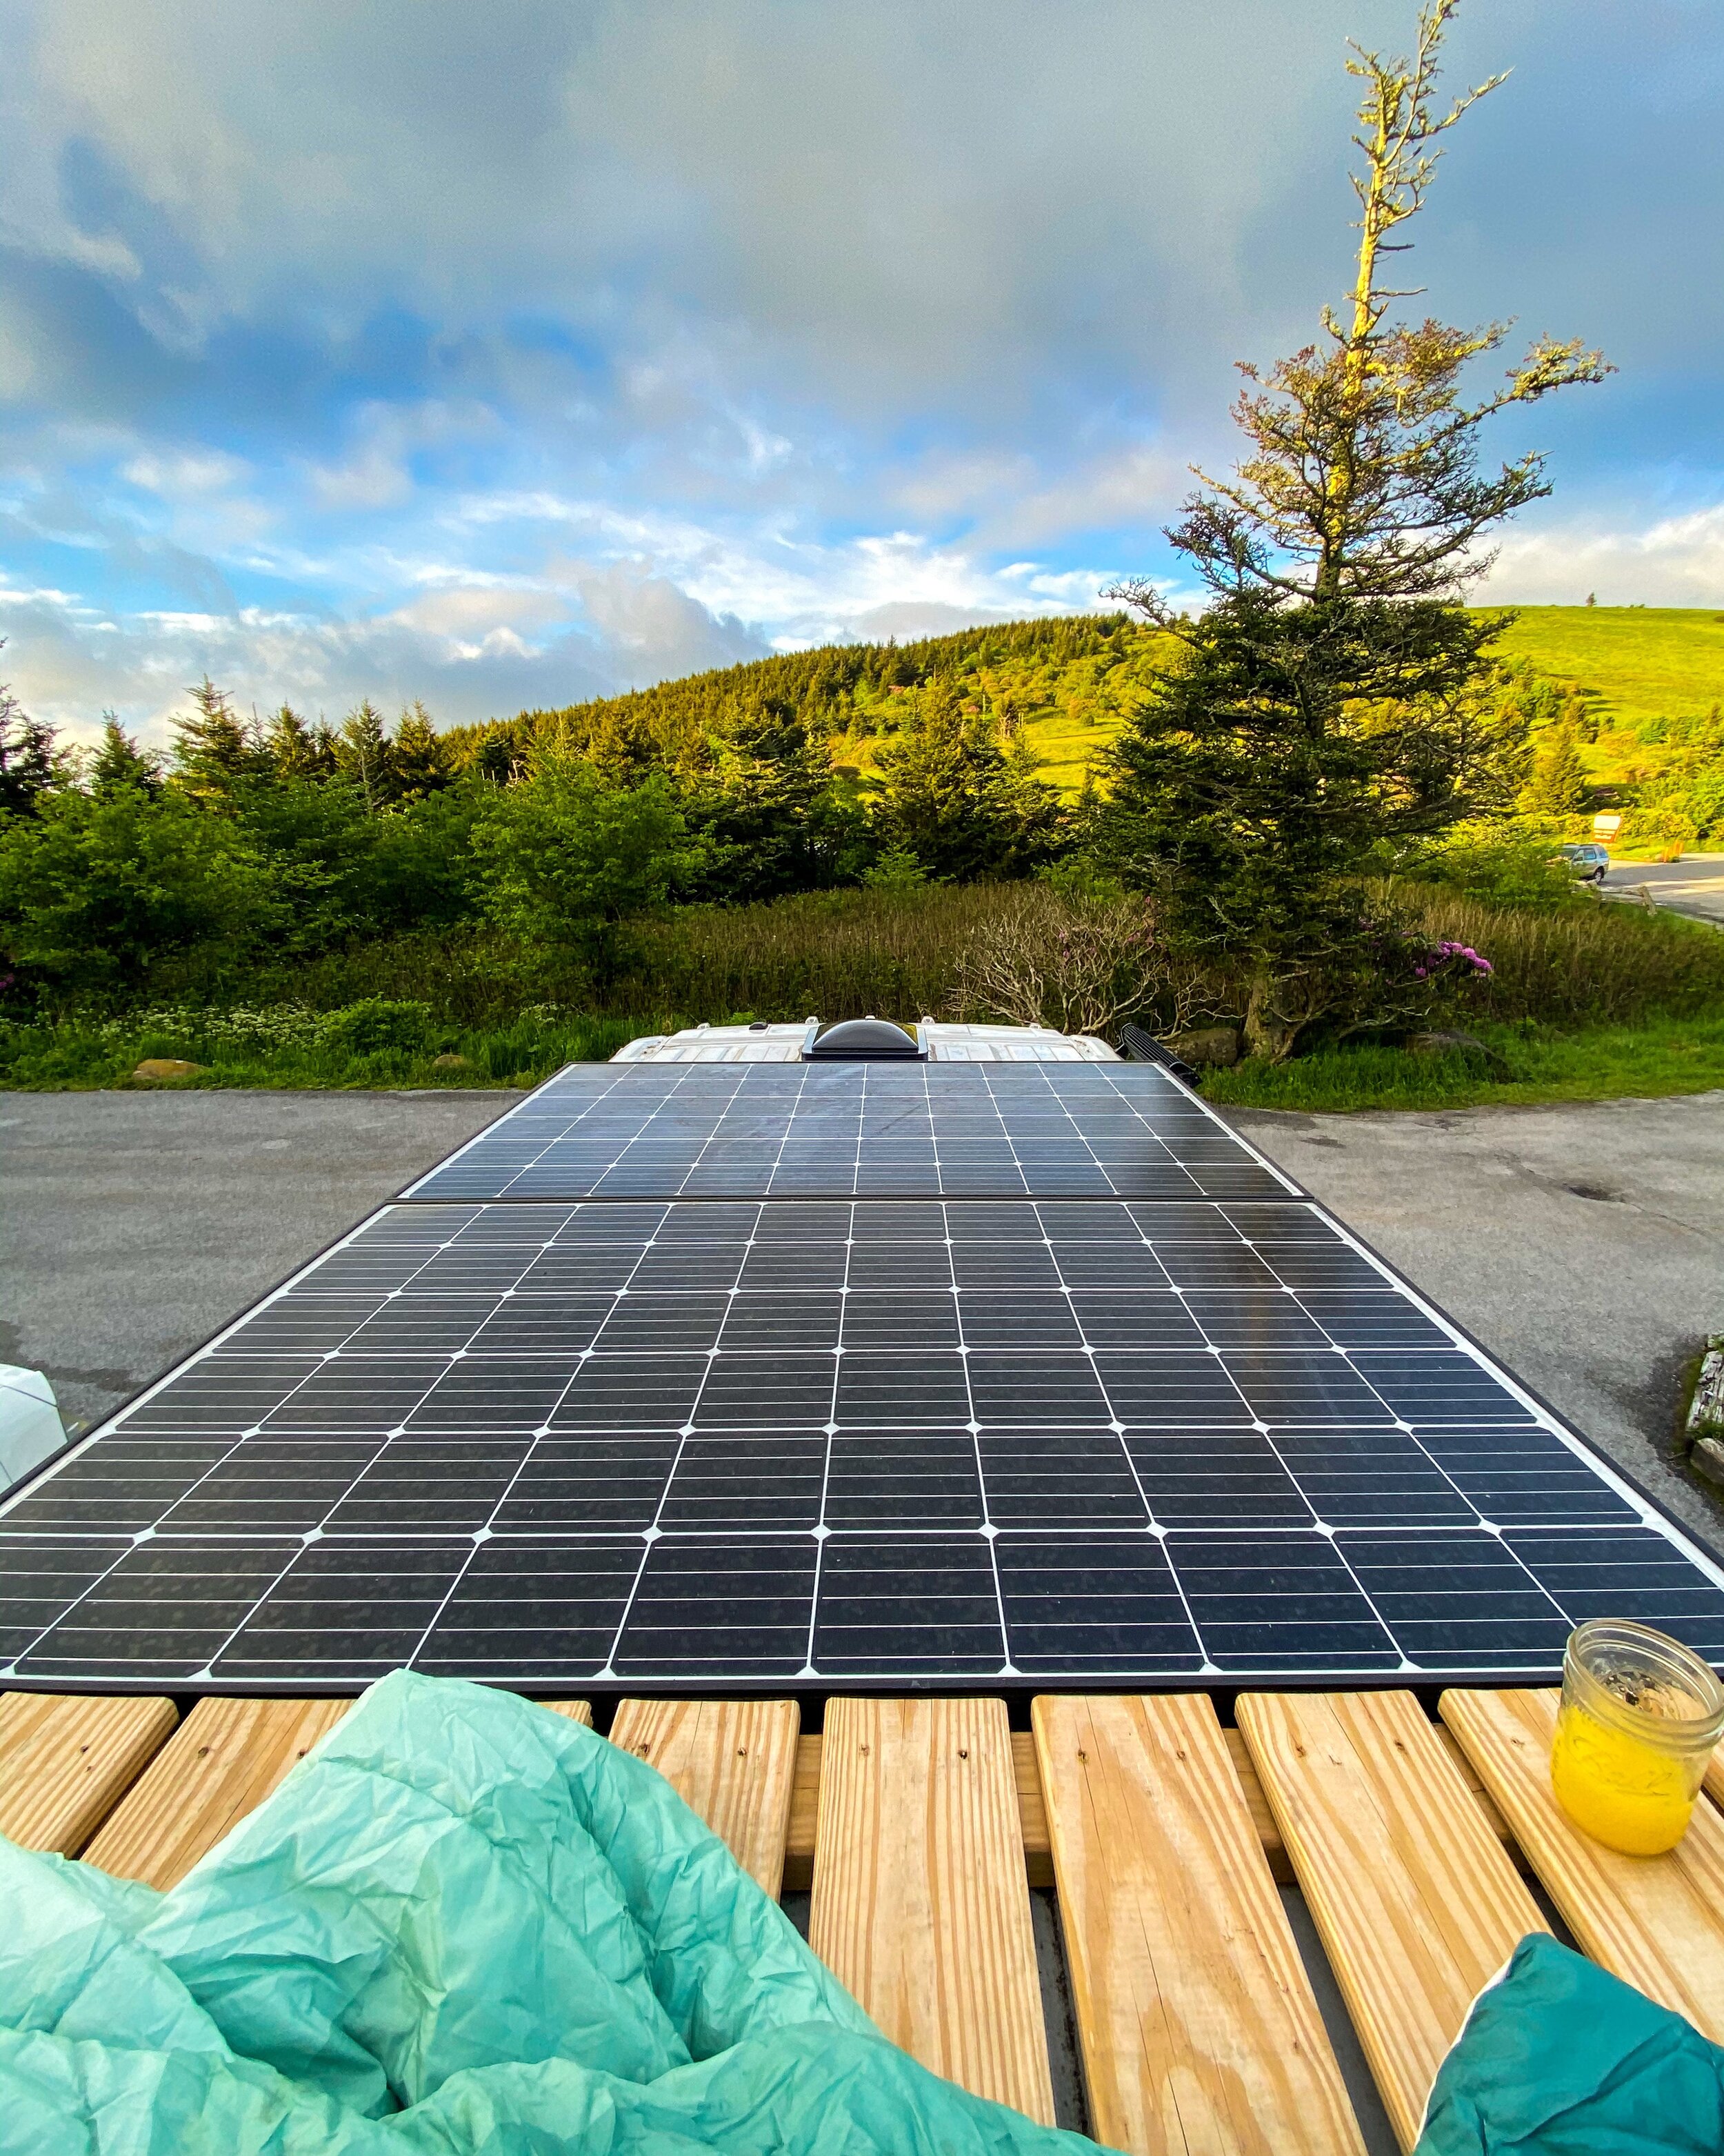
Two Renogy 300W 24V Monocrystalline Panels
2 Sets Renogy Solar Panel Mounting Z Bracket set of 4
Dicor Self-leveling lap sealant, white
Renogy 10ft 10AWG Solar Panel and Controller Connector Adaptor Wire Extension Cables
Link Solar Weatherproof ABS Solar Double Cable Entry Gland
Tools:
Tape Measure
Pencil
Metal Drill Bits
Drill
Ratchet set
The Build:
Those who seek and have chosen van-life are really after the nomadic lifestyle; the ability to travel and go anywhere, the freedom to live off-grid. We believe the key to living off-grid is living off solar. And since we were planning to live in the van while building it out, we knew solar was going to be one of our first installs.
We sized our solar system based off of what would fit on our roof, what appliances/devices we were going to power, and ultimately, how many panels we would need to fully charge our batteries each day (blog for that mechanism coming soon.)
We determined we needed 600w of solar and immediately got to researching. After hours of reading endless reviews, we were set on two 300w panels from Renogy.
Next, we needed to figure out how we were going to mount them to the roof. We had initially ordered the Renogy Z brackets to aid in the install, however they required 2 screws, each drilled into the roof of the van. That’s 16 holes into our roof!!! Enough said. We didn't like that idea; more holes means more risk of having a leaky roof. We wanted something sturdy that didn’t require as many holes and we also knew we wanted something modular that allowed us to mount other things in the future, such as cargo, roof deck, awning, etc. Some suggested purchasing a ladder rack or roof rack but that was out of our budget. So we decided to mimic a roof rack by using unistrut channels.
We started by measuring the roof of the van to determine where we wanted to mount the unistrut channels. We needed at least 10ft in length and 5ft wide. We then placed one unistrut channel on each side of the roof and marked where holes needed to be drilled. Once the holes were marked, we drilled ½” holes through the roof (terrifying). Metal shavings were cleaned up and the edges were painted with white rustoleum paint to prevent rust (key). The unistrut channels were lined up with the drilled holes and mounted using 1 ¼” Grade 8 bolts, nuts and washers. Self-leveling lap sealant was then used to waterproof and seal up any gaps around the rims of the bolts (also KEY).

We didn’t have a ladder at the time, so we pulled the van next to our back porch (of our rental house at the time) where we climbed up the railing to get onto the van roof. It wasn’t the safest thing to do, but it worked. Sarah is only 5’ 1” so it was really the only way we were getting these giant panels on the roof with just us two.

We had to do a dry fit to determine where we were going to mount them, make sure we liked the setup, so we lugged up both panels and spaced them accordingly and marked where I needed to drill holes.

These panels come with mounting holes, but of course (as all great van things go) they did not line up to where we needed to mount them, so we had drilled our own. We then flipped the solar panels face down and drilled holes where marked using drill bits specifically made for metal.

The next step was to mount the solar panels to the unistrut. Unfortunately there wasn’t enough clearance to mount the solar panels directly, so we needed some sort of bracket to add space. We decided that since we had already purchased the Renogy Z brackets, we could put them to use. We bolted the Z brackets in 4 places onto both solar panels where we drilled each hole (stay with me here.) Next, we fastened the spring strut nuts to the unistrut, then bolted the Z brackets (attached to the solar panels) to the spring nut.

Once the solar panels were securely mounted, we drilled two ½” holes into the back of the roof to feed the solar cables into the van. We then wired our solar panels in series (first panel negative goes to second panel positive, first panel positive goes to the charge controller and second panel negative also goes to the charge controller) and fed them through the waterproof cable gland which puts them through the roof and into the van. We then secured the cable gland to the roof surface with butel tape and self tapping screws, sealing it using self leveling lap sealant.
Once the cables were fed into the van, we realized they were not going to reach where we wanted our charge controller (make sure to measure, measure, measure!!) So we had to attach a 10ft extension cable and then added a 15amp in line fuse.
Finally, we were able to wire the solar panels into our MPPT charge controller. (IMPORTANT: Always hook your battery to your charge controller before hooking up solar panels to prevent burning up your charge controller).
And there you have it! Power!
I hope this helped you to connect your power. If you have any questions, as always, feel free to email us or message us on Instagram.
Happy Building!